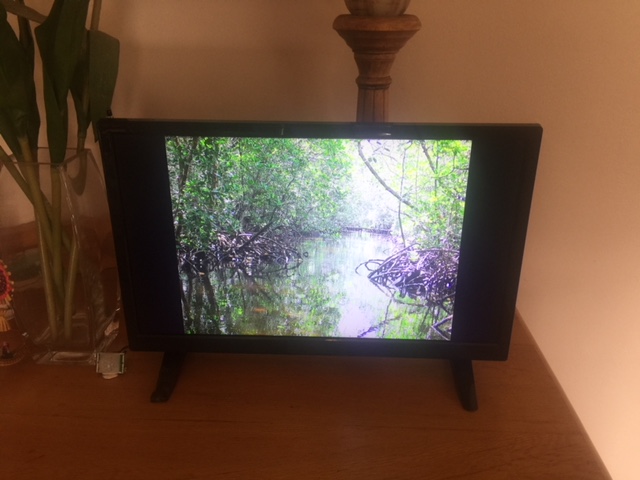
Raspberry Pi Photo Frame
Its not hard to turn a Raspberry Pi Zero Wifi edition and a cheap TV or monitor into a digital Photo frame. This edition uses a motion sensor and infrared LED to turn the TV on only when people are around to look at it. Scripting its done with Node.js.
Parts list:
- Raspberry Pi Zero Wireless
- Power Supply
- SD Card
- 2.54mm Pitch Double Row Pin Header 40 PIN(2x20)
- USB A Female to Male micro B cable
- Mini HDMI to HDMI Cable 1m V1.4
- PIR Infrared Motion Sensor (HC-SR501)
- IR - Infrared Receiver (TSOP38238)
- Jumper Cables Female to Female
- Round Infrared Emitting Diode
- 330Ω resistor
You could skip the power supply and just power the Pi from a USB charger for a phone or similar. It needs 140 mA to operate. If you do that you will need a cable:
Likewise if you can find a LIRC conf file for your TV then you don’t need the IR Receiver to learn the remote codes.
Raspberry Pi Software Installation
Install NOOBS and Enable SSH
Download NOOBS and follow the instructions to get your Pi up and running and on your Wifi network. I had to toggle between using the keyboard and mouse since the Pi Zero only has one USB port and I didn’t have a suitable hub. You should configure your Wifi router to give the Pi a fixed IP address as this will make connecting to it with ssh much easier.
Disable Screen Blanking
Stopping the Pi from turning off the screen is a bit tricky. Edit /boot/cmdline.txt and append ‘ consoleblank=0’ to the end. Yours should look something like this:
# cat /boot/cmdline.txt
dwc_otg.lpm_enable=0 console=serial0,115200 console=tty1 root=/dev/mmcblk0p7 rootfstype=ext4 elevator=deadline fsck.repair=yes rootwait splash plymouth.ignore-serial-consoles consoleblank=0
Edit /home/pi/.config/lxsession/LXDE-pi/autostart and append the following lines:
@xset -dpms
@xset s off
@xset s noblank
Install feh
The feh package makes it easy to display a slideshow.
$ sudo apt-get install feh
Create file to launch it:
pi@piframe:~ $ cat start-picture-frame.sh
#!/bin/bash
DISPLAY=:0.0 XAUTHORITY=/home/pi/.Xauthority /usr/bin/feh --quiet --recursive --randomize --full-screen --reload 60 -Y --slideshow-delay 7.0 /home/pi/Pictures
pi@piframe:~ $ chmod 755 start-picture-frame.sh
Note that it looks for pictures in /home/pi/Pictures and its subdirectories. Put some pictures in there and check that it works:
pi@piframe:~ $ ./start-picture-frame.sh
Setup Samba
Samba makes it possible to share directories on the Pi with Windows and Mac machines on your Wifi network making it easy to load new pictures. These instructions are adapted from /raspberry-pi-nas. First install the samba package:
$ sudo apt-get install samba samba-common-bin
Then edit /etc/samba/smb.conf. In the [global] section under ‘## Authentication’ make sure ‘security = user’ is present and not commented out. Add the following to the bottom of the file:
[Pictures]
path = /home/pi/Pictures
valid users = @users
force group = users
create mask = 0660
directory mask = 0771
read only = no
Set a password for the pi usr:
$ sudo smbpasswd -a pi
Restart Samba:
$ sudo /etc/init.d/samba restart
Setup Slideshow to Run on Boot
Edit /home/pi/.config/lxsession/LXDE-pi/autostart and append the following line:
@sh /home/pi/start-picture-frame.sh
Now reboot the Pi. Your slideshow should start automatically.
Hardware Setup
Now you should have a working photo frame. Next up additional hardware and scripting so the screen is only on when people are around to look at the pictures.
Motion Sensor
Connect the PIR Infrared Motion Sensor (HC-SR501) to the Pi.
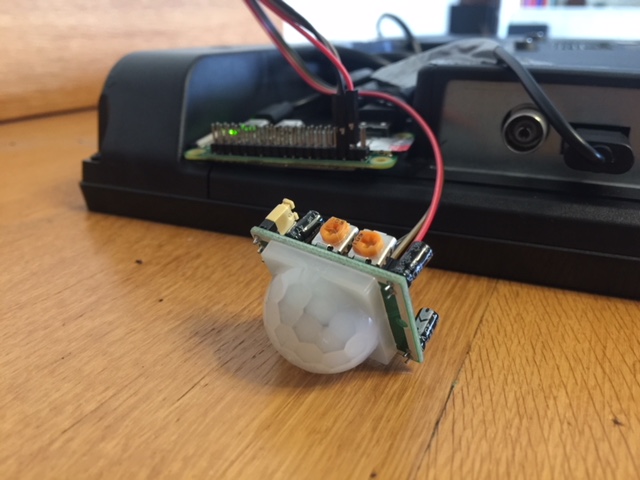
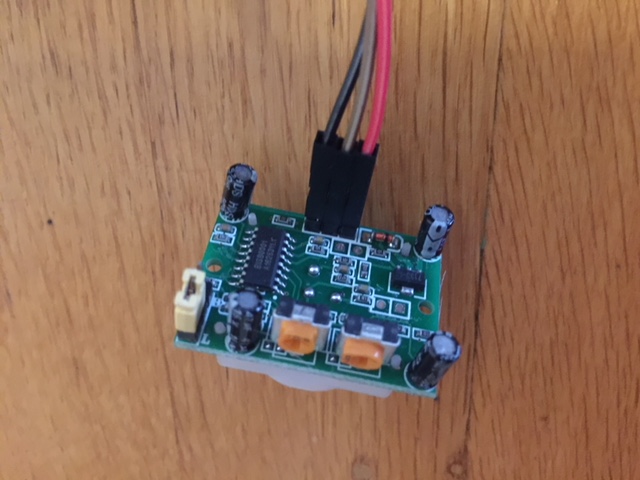
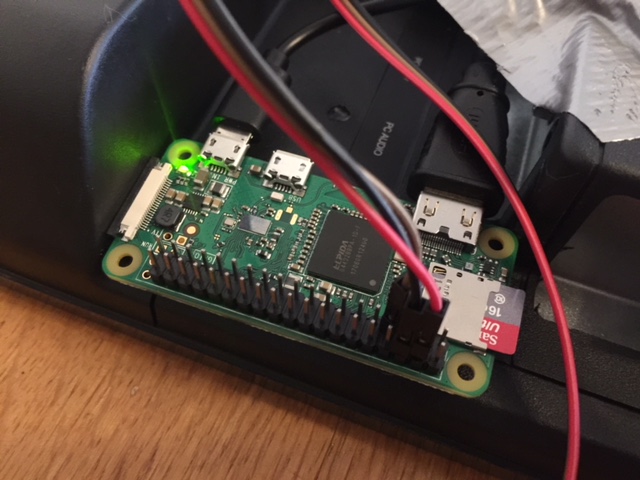
Connect power (red) to 5v (Pi pin 4), ground (black) to a ground pin (Pi pin 6) and the data (brown) to a GPIO input (Pi pin 7). Here is a handy Pi pinout reference.
You can check that it is working using the gpio utility:
$ watch gpio readall
+-----+-----+---------+------+---+-Pi ZeroW-+---+------+---------+-----+-----+
| BCM | wPi |   Name  | Mode | V | Physical | V | Mode | Name    | wPi | BCM |
+-----+-----+---------+------+---+----++----+---+------+---------+-----+-----+
|   4 |   7 | GPIO. 7 |   IN | 0 |  7 || 8  | 0 | IN   | TxD     | 15  | 14  |
The V column for the line for BCM 4 should change to a 1 for a few seconds when the motion sensor detects motion.
Turning Display On/Off (Easy Way)
If you are lucky you will be able to get your TV to play nicely when the HDMI output from the Pi is turned off.
$ vcgencmd display_power 0
$ vcgencmd display_power 1
Unfortunately my TV goes into a horrible blue screen mode when that happens which I was unable to disable in its settings. If it works for your TV then you can skip the IR transmitter and LIRC remote control sections.
Build IR Transmitter
Connect your IR LED to BCM 22 (Pi pin 15) via a 330Ω resistor to ground (Pi pin 9). I soldered the resistor directly onto the cathode of the LED. The resistor limits the current draw to about 10 mA.
Test that it works:
$ gpio -g mode 22 out
$ gpio -g write 22 1
$ gpio -g write 22 0
Use a digital camera to see the infrared. Check that your camera is not filtering out IR by testing with a remote. My iPhone 6+ filters out the IR but my Nikon Coolpix L820 does not.
Install LIRC
LIRC is a package that uses an IR LED to simulate remote controls. In this case I am using it to turn the TV on/off from the Pi. If you are lucky you can use the ‘vcgencmd display_power 0’ commands instead and skip this whole part of the project.
These instructions are derived from the following pages:
Install the lirc package:
$ sudo apt-get install lirc
Add the following to /etc/modules:
lirc_dev
lirc_rpi gpio_in_pin=23 gpio_out_pin=22
Add the following to /boot/config.txt:
dtoverlay=lirc-rpi,gpio_in_pin=23,gpio_out_pin=22
Edit /etc/lirc/lirc_options.conf and change the driver line:
driver = default
Reboot.
Find a conf file for your remote and put it in /etc/lirc/lircd.conf.d/ with a .conf extension. You probably want to edit the ‘name’ line to give your remote a friendly name. Then stop and start lircd:
$ sudo service lirdc stop
$ sudo service lirdc start
Use the irsend LIST command to check your configuration:
$ irsend LIST LG_TV KEY_POWER
00000000000010ef KEY_POWER
Now see if it works:
$ irsend SEND_ONCE LG_TV KEY_POWER
Connect IR Receiver
You only need this step if you need to learn the codes for your TV remote i.e. you can’t find a lircd conf file for it.
These instructions are derived from this blog post:
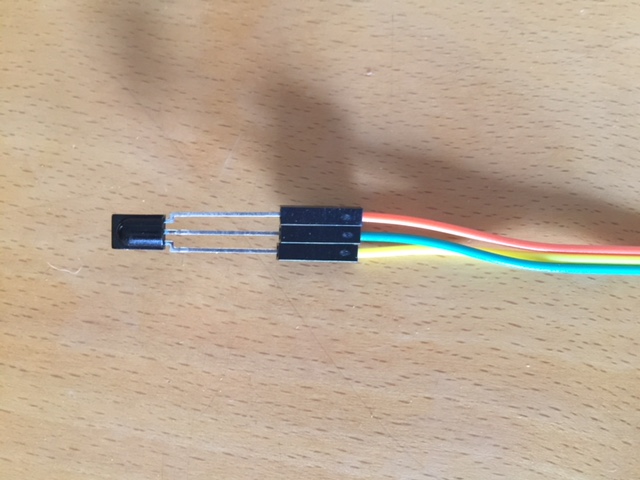
You need an IR receiver like this one:
Make sure you know the pinout. Connect the data pin to GPIO23 (Pi pin 16), the power pin to 3.3V (Pi pin 1) and the ground pin to one of ground pins on the Pi (e.g. Pi pin 14).
Check that it is working:
$ sudo service lircd stop
$ mode2 -d /dev/lirc0
Using driver default on device /dev/lirc0
Trying device: /dev/lirc0
Using device: /dev/lirc0
Press a button on your remote and you should see something like this:
space 6635057
pulse 9034
space 4497
pulse 622
space 513
pulse 625
...
If you don’t see anything check that you have correctly connected the IR receiver to the Pi.
Use irrecord to record a lircd.conf file for your TV. First list the names of the keys and keep these somewhere for reference:
$ irrecord --list-namespace
Then follow the instructions to learn your remote:
$ irrecord -d /dev/lirc0 ~/your_tv.conf
Copy this file to /etc/lirc/lircd.conf.d/ and restart lircd:
$ sudo service lircd start
Check that it works:
$ irsend SEND_ONCE SINO_TV KEY_POWER
Scripting
The last part of this project is a simple Node.js script to turn the TV on when there is motion and off again after a timeout.
Install Node.js
The Node.js packages installed by apt-get are a bit old. I used one of sdesalas’s scripts instead:
$ sudo bash
# wget -O - https://raw.githubusercontent.com/sdesalas/node-pi-zero/master/install-node-v6.11.3.sh | bash
The Piframe Script
Put piframe.js and package.json into a /home/pi/piframe/ directory on your Pi:
const Gpio = require('onoff').Gpio;
const { exec } = require('child_process');

let picOffTimeout;
let tvState = 0;

const tvControl = (on) => {
    console.log("tvControl " + on);
    if (on != tvState) {
        exec('/usr/bin/irsend SEND_ONCE SINO_TV KEY_POWER');
        tvState = on;
    }
};

const turnOnTvWithAutoOff = () => {
    console.log("turning on TV wih auto off after 10 mins");
    if (picOffTimeout) clearTimeout(picOffTimeout);
    else tvControl(1);
    picOffTimeout = setTimeout(() => {
        tvControl(0);
        picOffTimeout = null;
    }, 10 * 60 * 1000);
};

turnOnTvWithAutoOff();

new Gpio(4, 'in', 'both').watch((err, value) => {
    console.log("motion pin change " + value);
    if (value) turnOnTvWithAutoOff();
});
Now install the script dependencies and run it:
$ cd piframe
$ npm install
$ node piframe.js
Note that if turning the HDMI on/off works for you then replace the irsend commands with
/usr/bin/vcgencmd display_power 0.
Install PM2 for Management Of Node.js Scripts
PM2 is a utility to run Node.js scripts on boot and keep them running. Follow the instructions on the site to install and generate a startup script.
$ sudo npm install pm2 -g
Then you can use PM2 to ensure that the piframe script is always running:
$ cd piframe
$ pm2 start piframe.js